Dive deep into the intricate process of Luan3dr’s project as he navigates the use of AI while keeping the integrity of 3D art.
INTRODUCTION
Hi, I am Luan3dr, the creator of the YouTube channel of the same name. I am a 3D artist specializing in architectural visualization, self-taught and a lifelong learner.
INSPIRATION
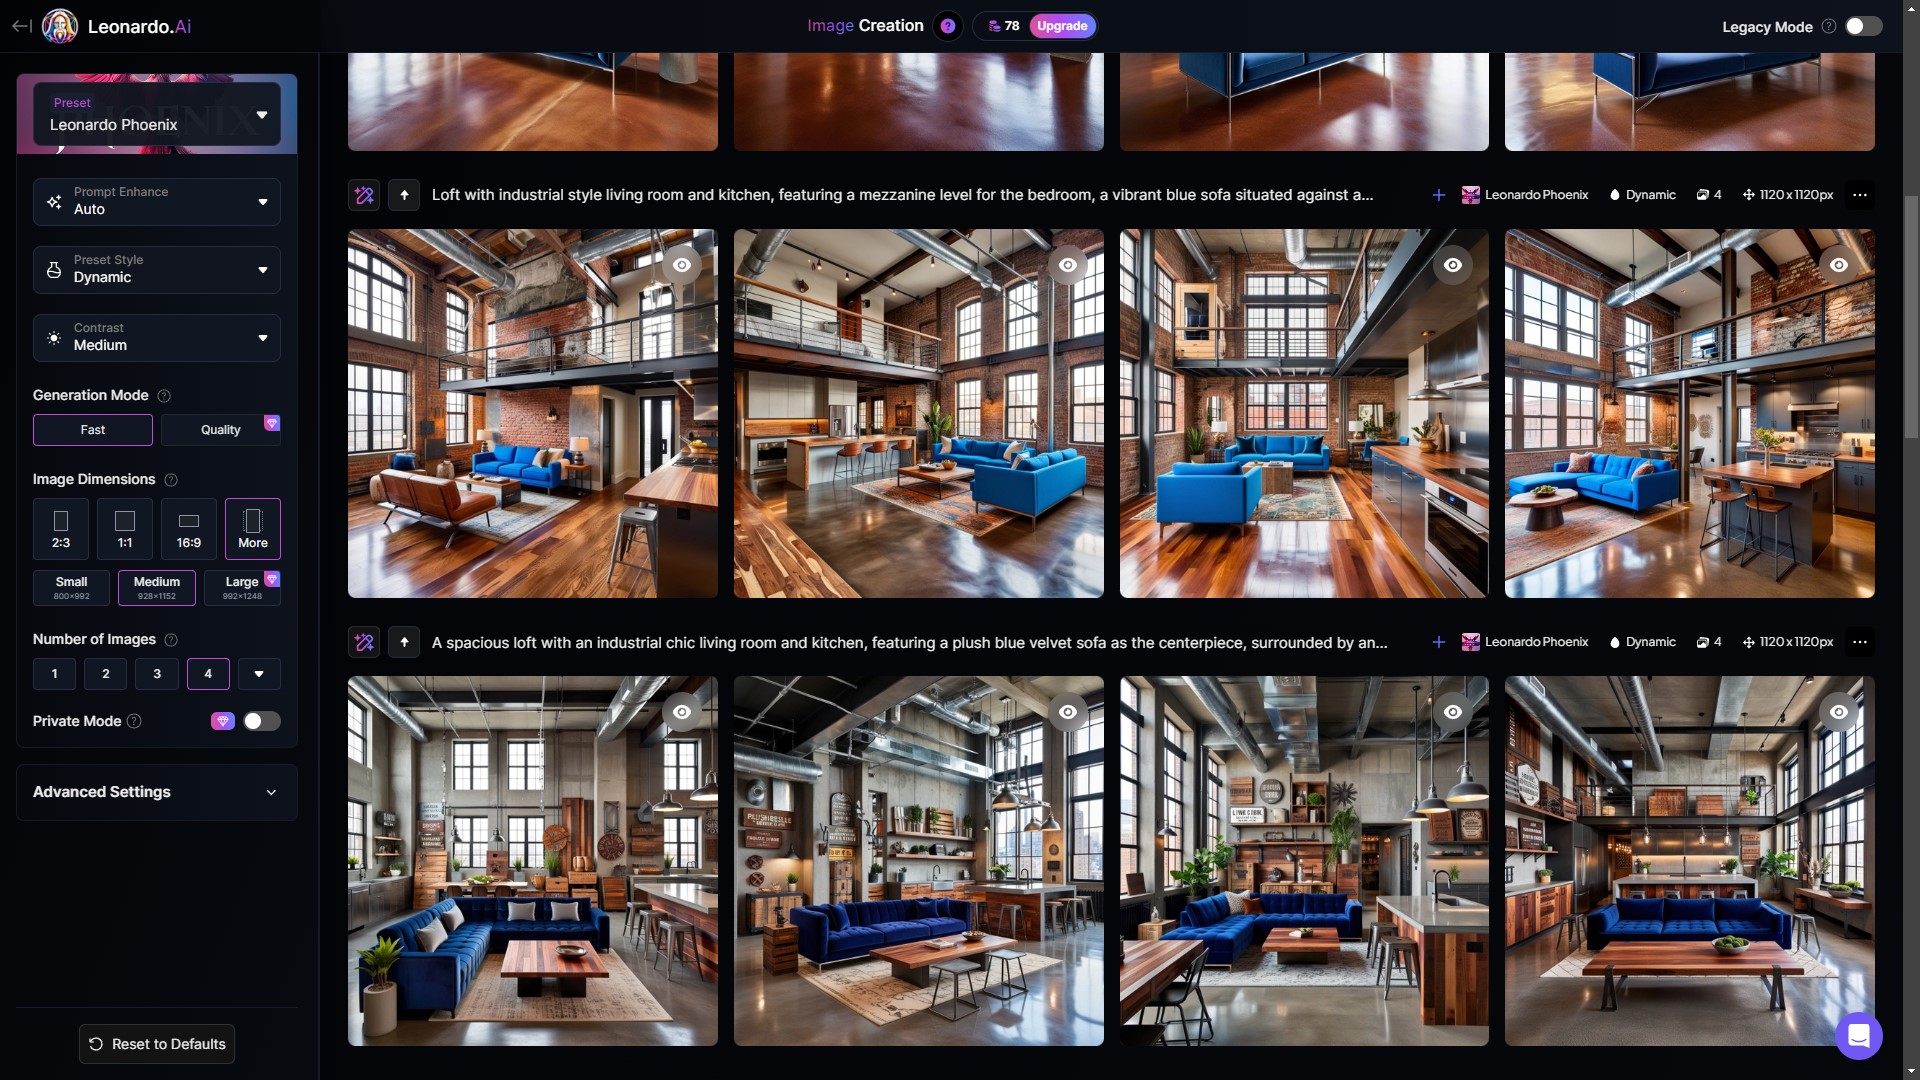
I created this scene as a personal challenge: can I still create works better than those of artificial intelligence? This was the motivation behind this piece. I have a strong affinity for the industrial architectural style, which has always fascinated me with its rustic and robust materials. Inspired by this, I created a prompt for the AI that reflected this specific aesthetic and then used the same instructions to create my own art.
The process was quite enriching. While the AI quickly generated its interpretation of the prompt, I was able to dive into a deeper, more intuitive creative process, exploring nuances that, in my opinion, only a human touch can provide at this moment. For me, it was important not only to compare the final results but also to experience the creative process itself, which is a fundamental part of what it means to be an artist.
I want to make it clear that my intention is neither to oppose nor to advocate for the advancements of artificial intelligence. I'm just an artist trying to challenge myself amidst these new technologies. Much like the famous chess match between Garry Kasparov and IBM's Deep Blue in February 1996, my goal was to explore the limits and possibilities of what we can achieve when humans and machines interact.
Regarding references, I sought inspiration from various sources, with the main basis being photographs of real industrial structures. My goal was to ensure the scene had a palpable realism and captured the essence of the industrial environment. However, the structural part and main ideas had to ethically come from my own mind, including the framing, which objects would be added to the scene, and how these objects would be implemented. The central idea had to be developed by me to make the comparison as fair as possible.

PROCESS
To generate the rendering, I used Blender as the primary tool. My hardware setup includes an AMD Ryzen 7 2700X processor, a GTX 1070, and 40 GB of RAM—a rather modest configuration. For post-production, I utilized Darktable, Affinity Photo, and Photoshop.
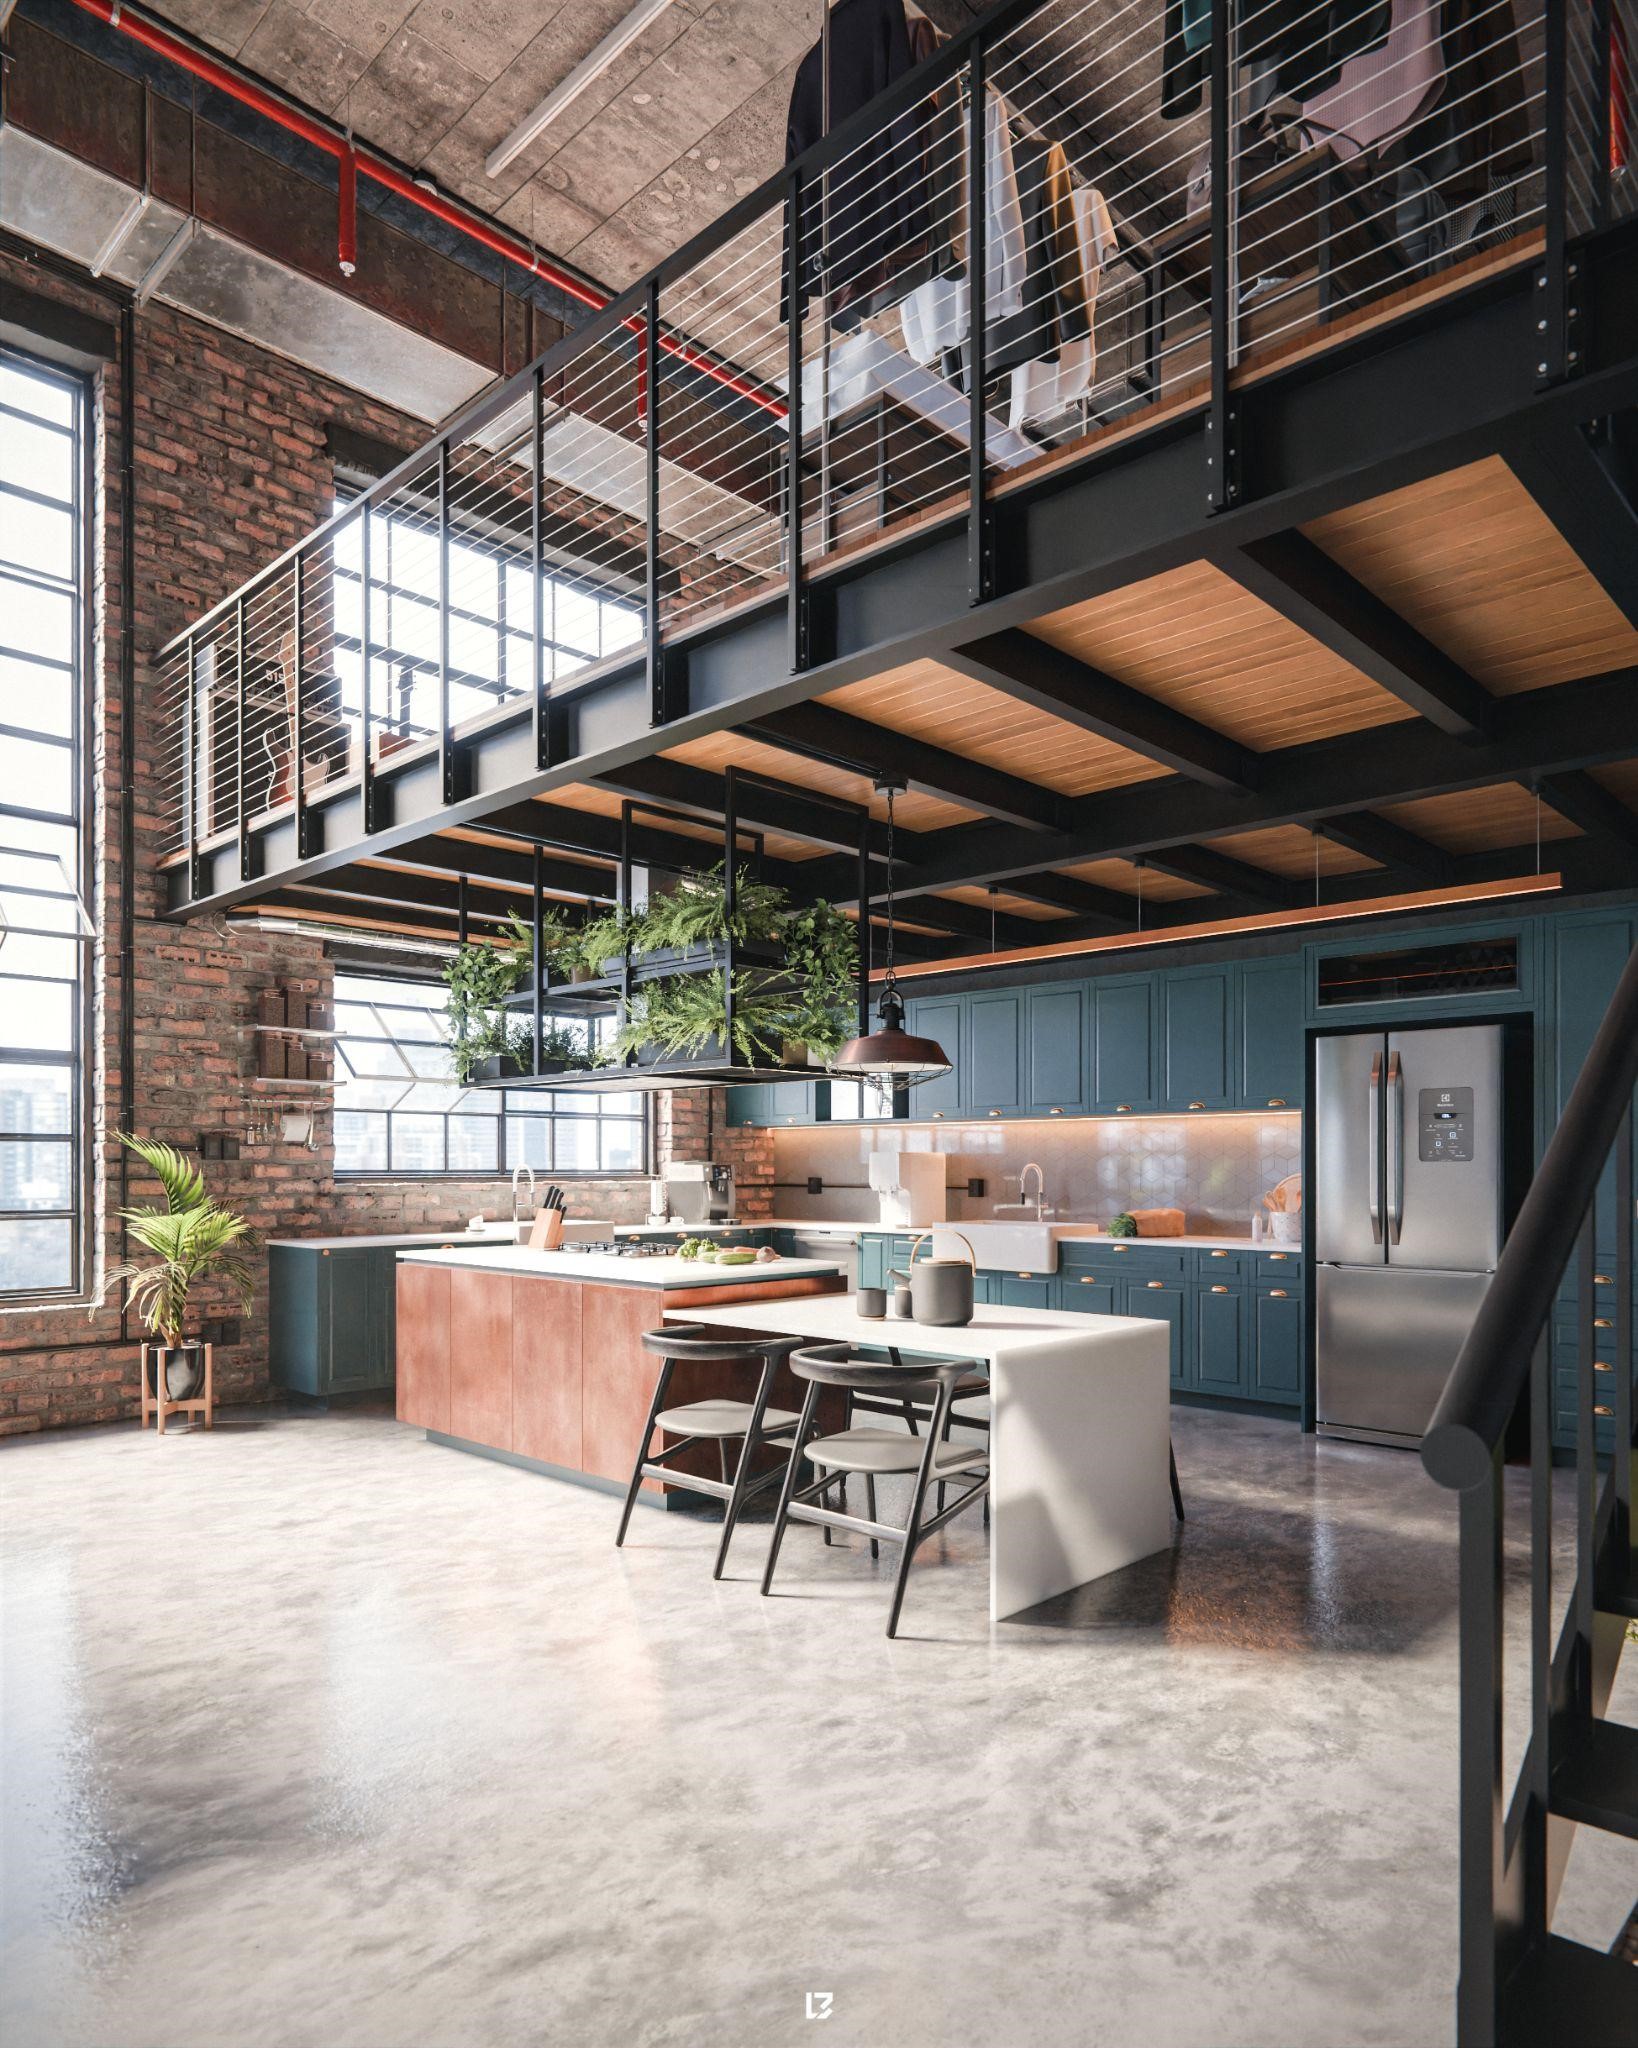
The first part of the process involved defining the idea clearly. Essential elements included a loft with large windows and ample natural light, a blue sofa, and typical elements of this style, such as bricks, concrete, wood, and metal. Once these requirements were established, I began working on my ideas to make the project unique.
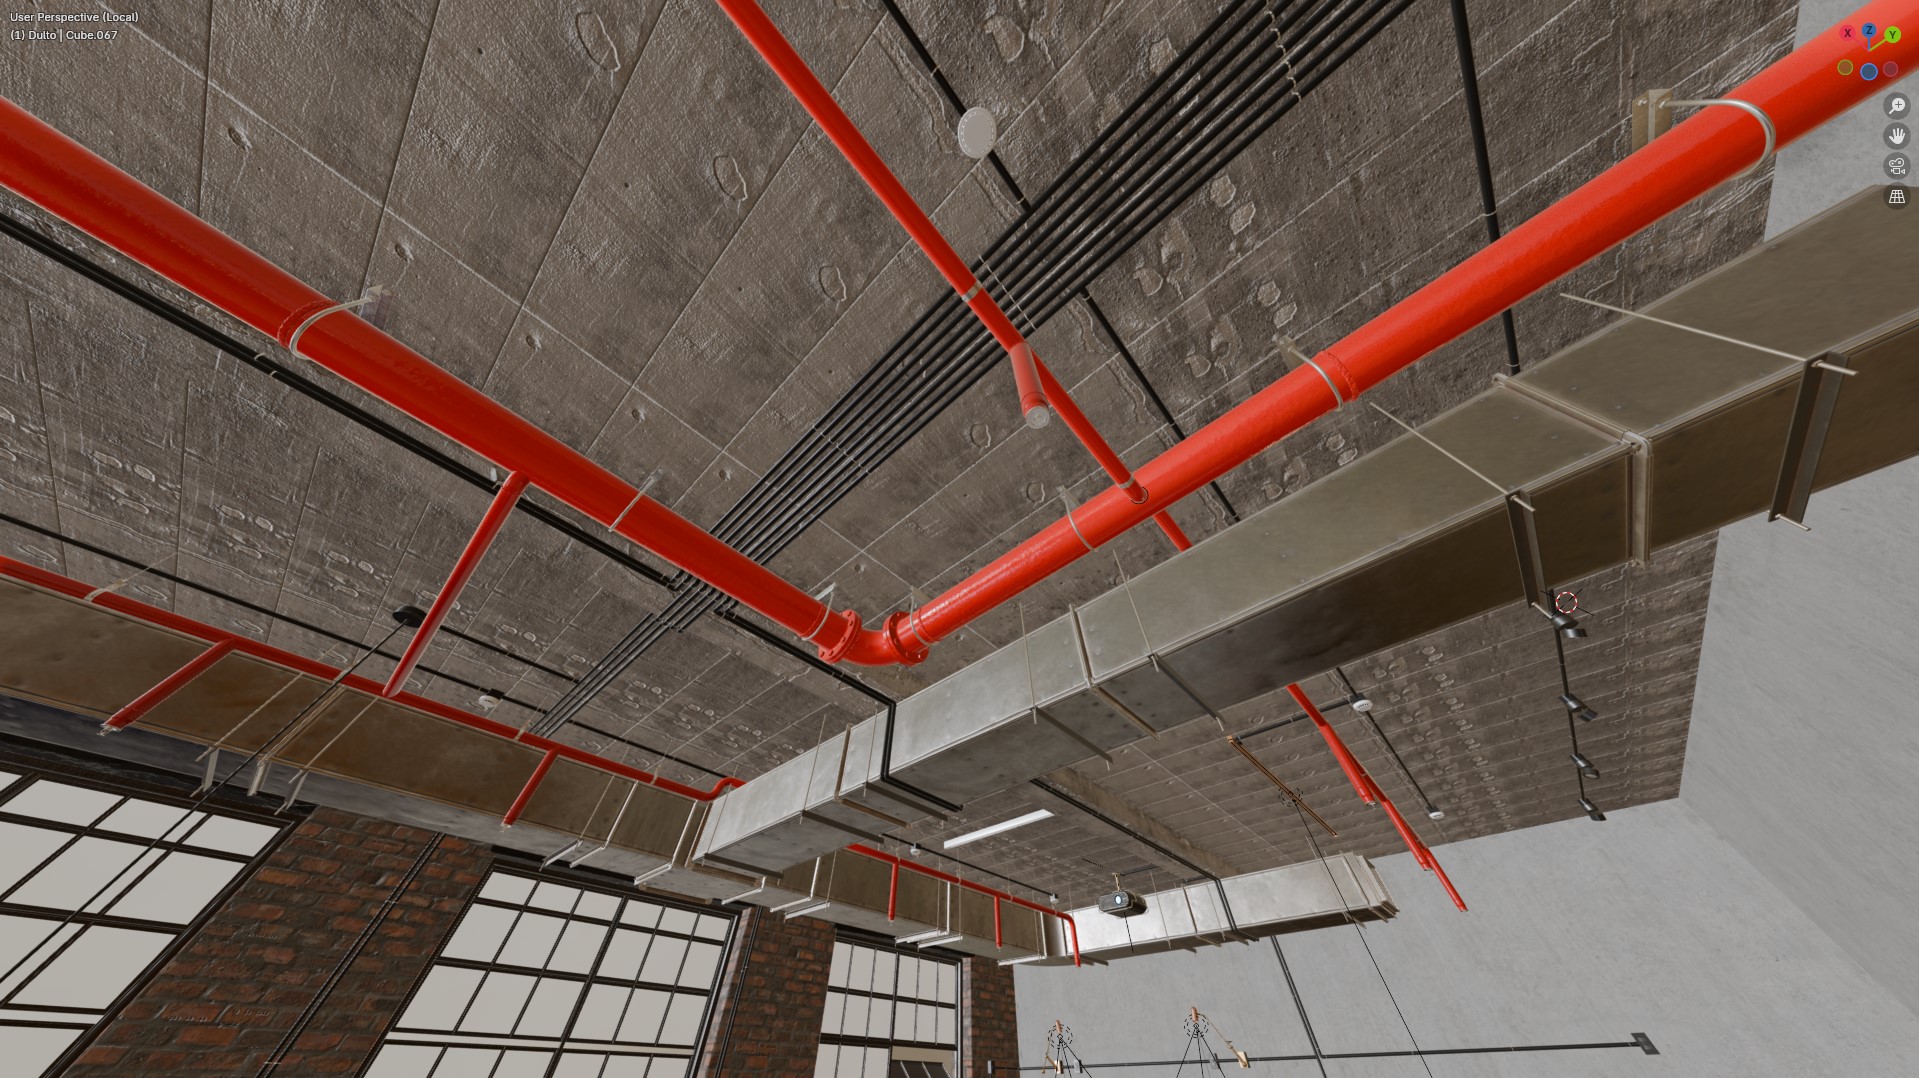
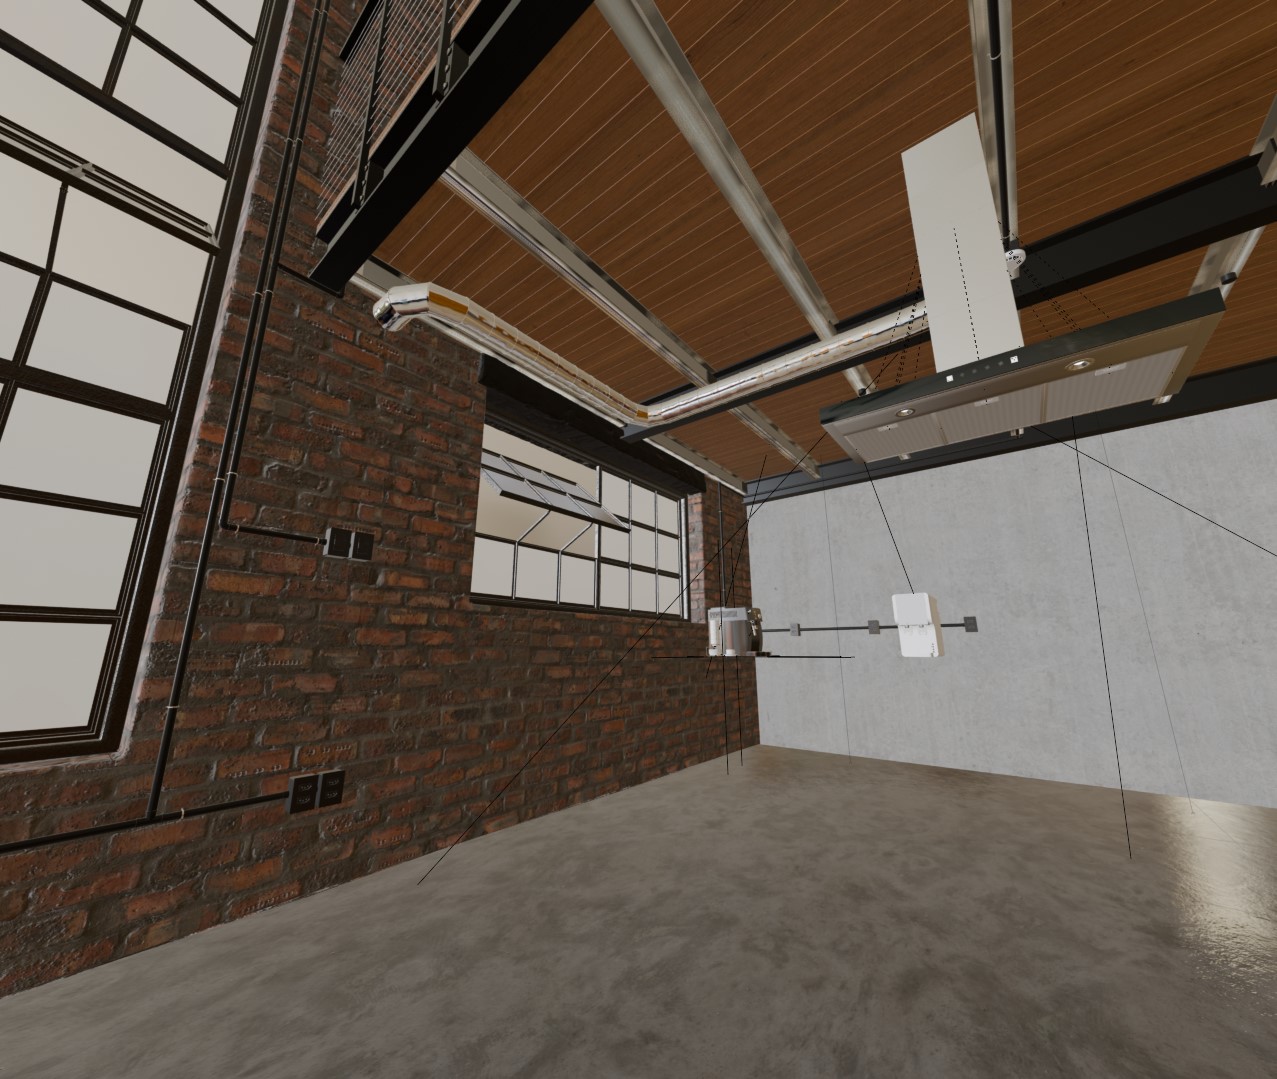
I focused on the ceiling design, incorporating air ducts, electrical wiring, fire suppression pipes, as well as lighting, switches, and electrical outlets, aiming to make everything as realistic as possible, not just visually but also practically. In the kitchen, I opted for more classic cabinets with plants on top of a cooktop supported by a metal structure. I worked extensively on the color scheme, emphasizing blue, yellow, and green.
Blue would dominate the external part of the scene, the cabinets, concrete, and the sofa. Yellow would be used for the brick walls, wood, the copper on the kitchen island, and some gold details. Green would feature in the plants and a few vegetables in the kitchen. Although other colors were also present, such as red for the fire suppression pipes, these three colors were the main focus. With all these details defined, I was ready to start putting everything together!
Modeling
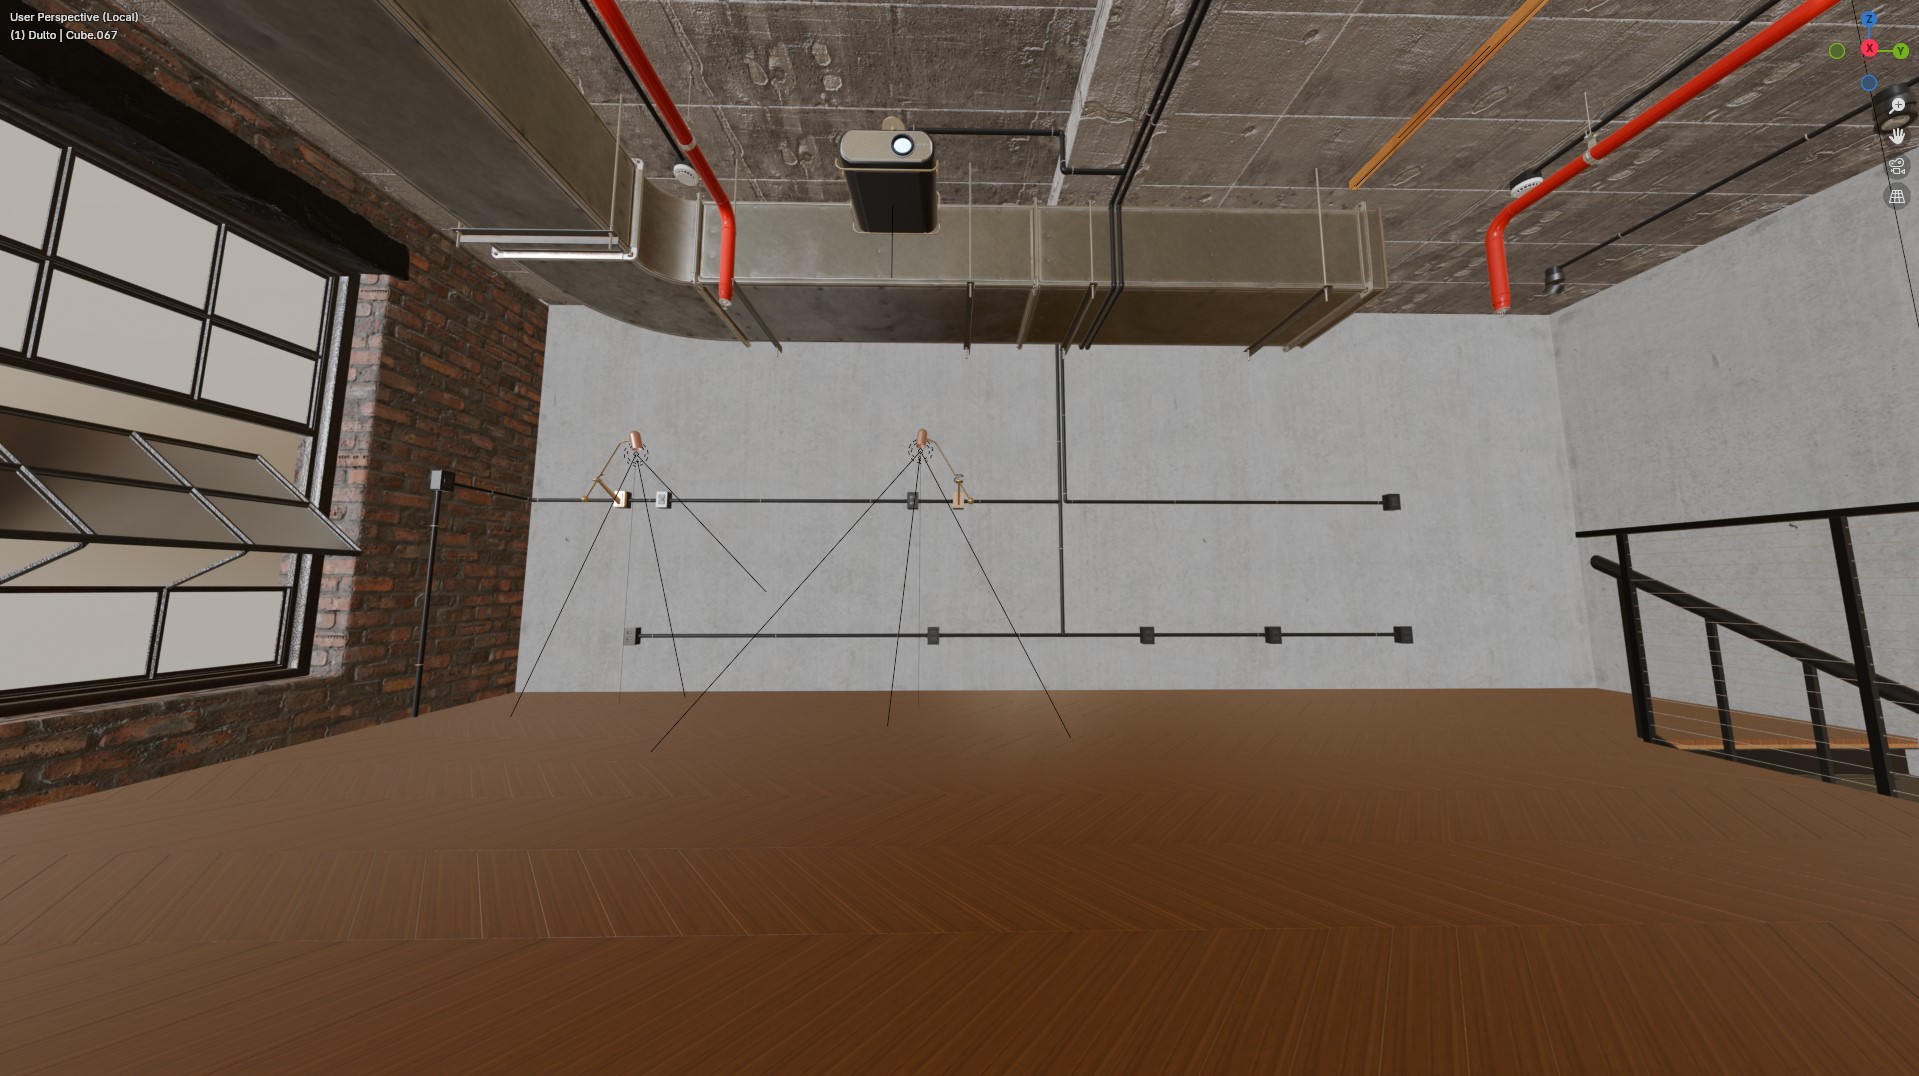
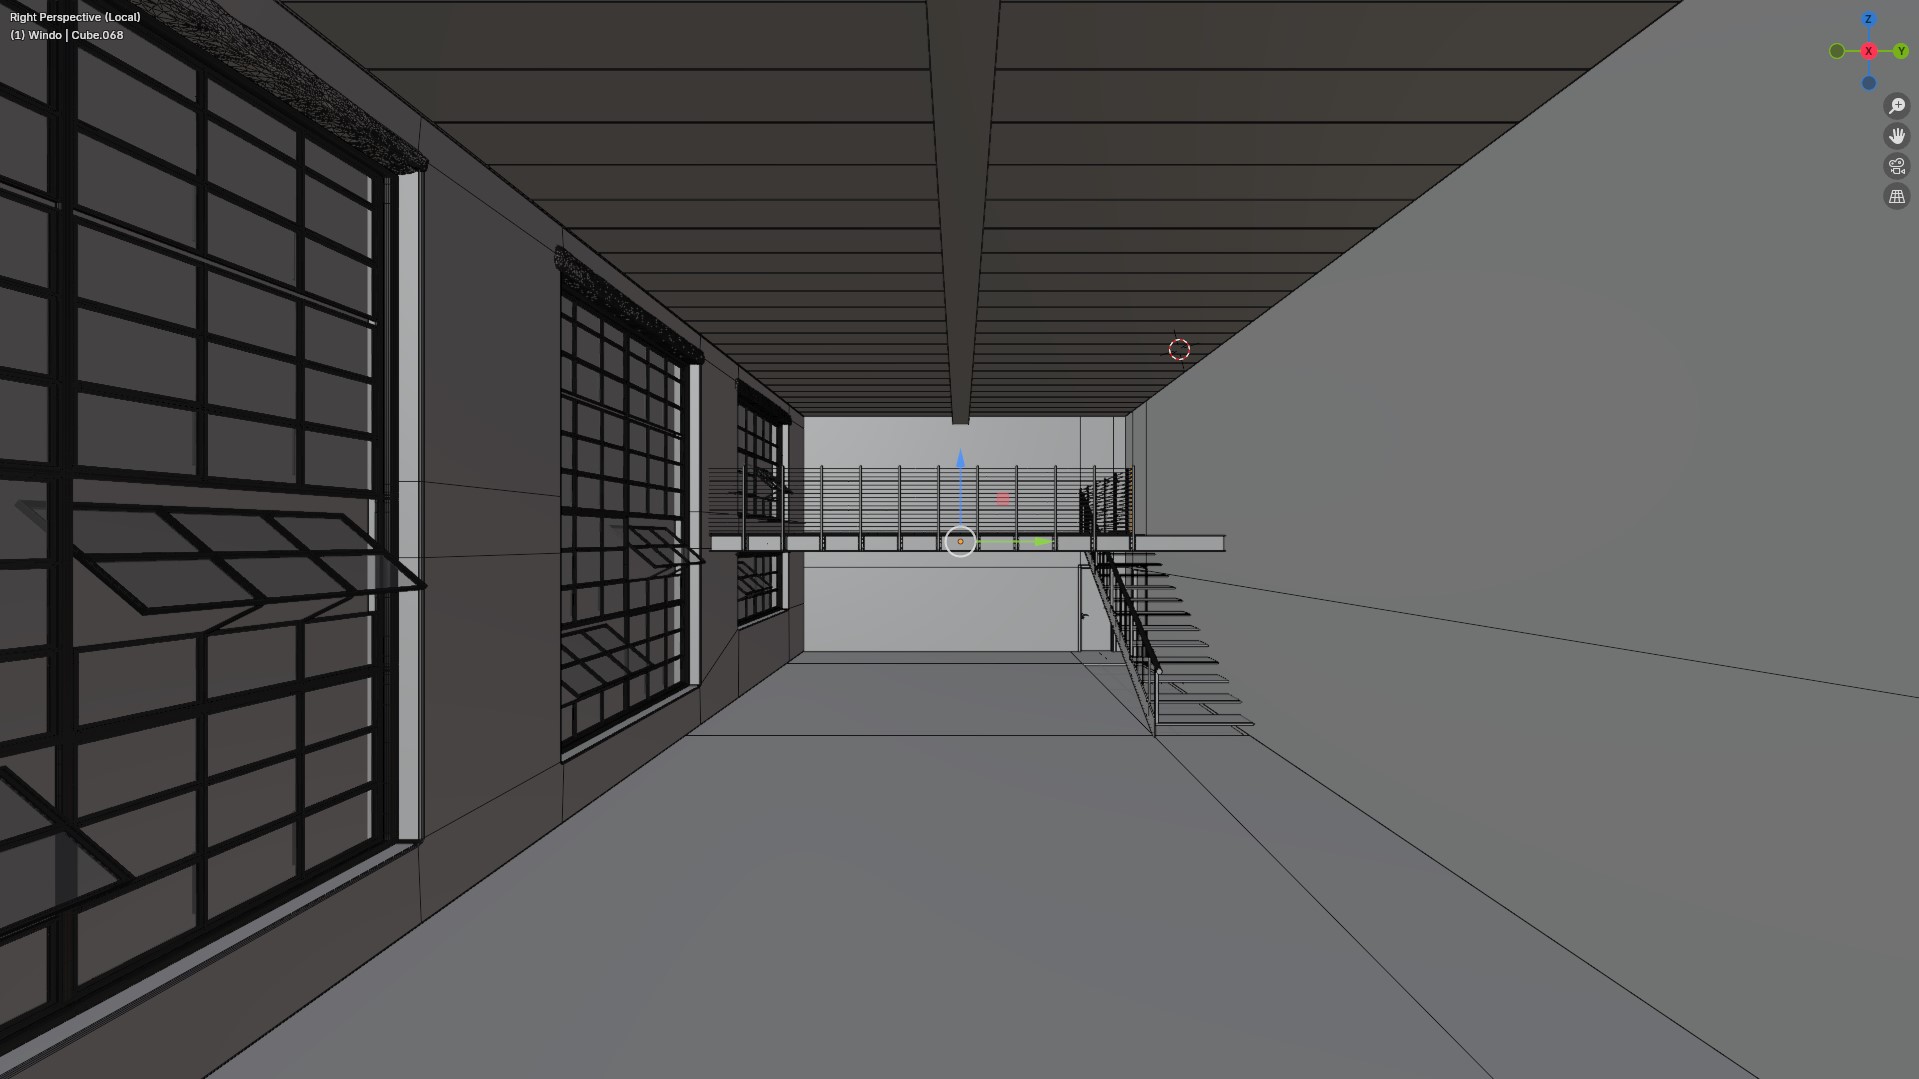
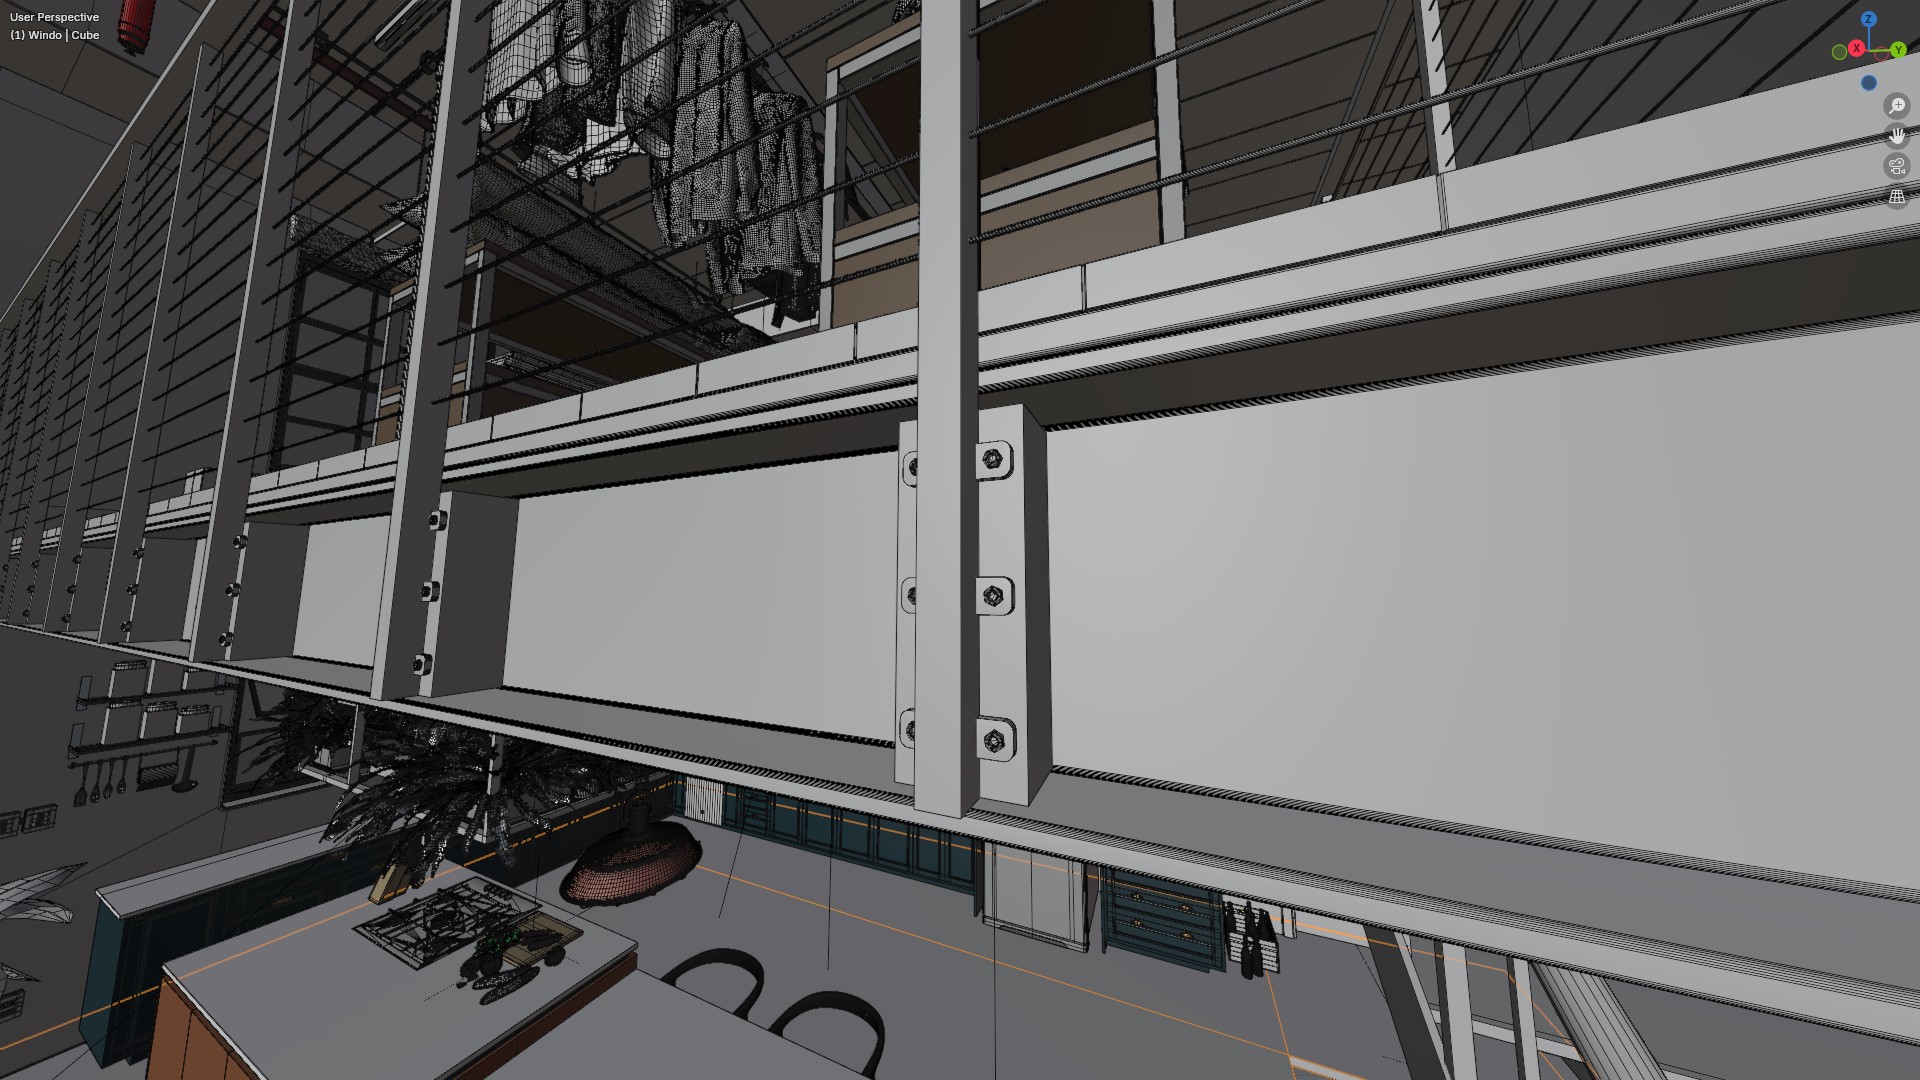
I like to start modeling with the main blockout. This modeling is quite simple: it consists of four main walls, large windows, and a mezzanine. The mezzanine was the most detailed part; I researched extensively before deciding on the material and how to construct each detail, as this makes all the difference for me. Many people underestimate the power of detailing, but I do not.
Other objects that received careful attention were the pipes. It was important for each detail to have my attention: the thickness, colors, connections, and even how these pipes were fixed to the walls. The welding on the fire suppression pipes also did not go unnoticed.
Of course, many details can and will go unnoticed. It's challenging to consider every detail, but paying close attention only shows your commitment to your art. We must consider that the time available to complete the work also greatly influences the outcome. Remember that this piping is available for free on the Blender Kit.
Texturing and Materials
Choosing the right textures is of utmost importance. For a good final result, it is essential that every aspect of your process has quality, and textures are no exception. I aimed to ensure that each texture had the best possible quality. Each material must contribute to the final result; if a texture isn't exactly what you need, modify it until it is just right. If a texture isn't in the color or tone required, you can adjust it until it is.
I like to create all my materials. For those I don’t create, I check them meticulously and almost always modify them to improve them. I need to have total control over everything in my art; otherwise, it would be just luck and not skill. Randomizing materials is important. In some cases, adding dirt and imperfections is always welcome to represent real life more honestly—dust, grime, pattern breaks, or even cracks. Of course, this should be done at a balanced level; too much can suggest a post-apocalyptic scene, while too perfect can end up looking artificial or plastic.
To conclude, a tip that can make your materials more realistic in a simple way is to use high-quality references. If you want to create silk fabric, look for references on how that material reacts to light. Test different lighting both in 3D and in your references.
Lighting
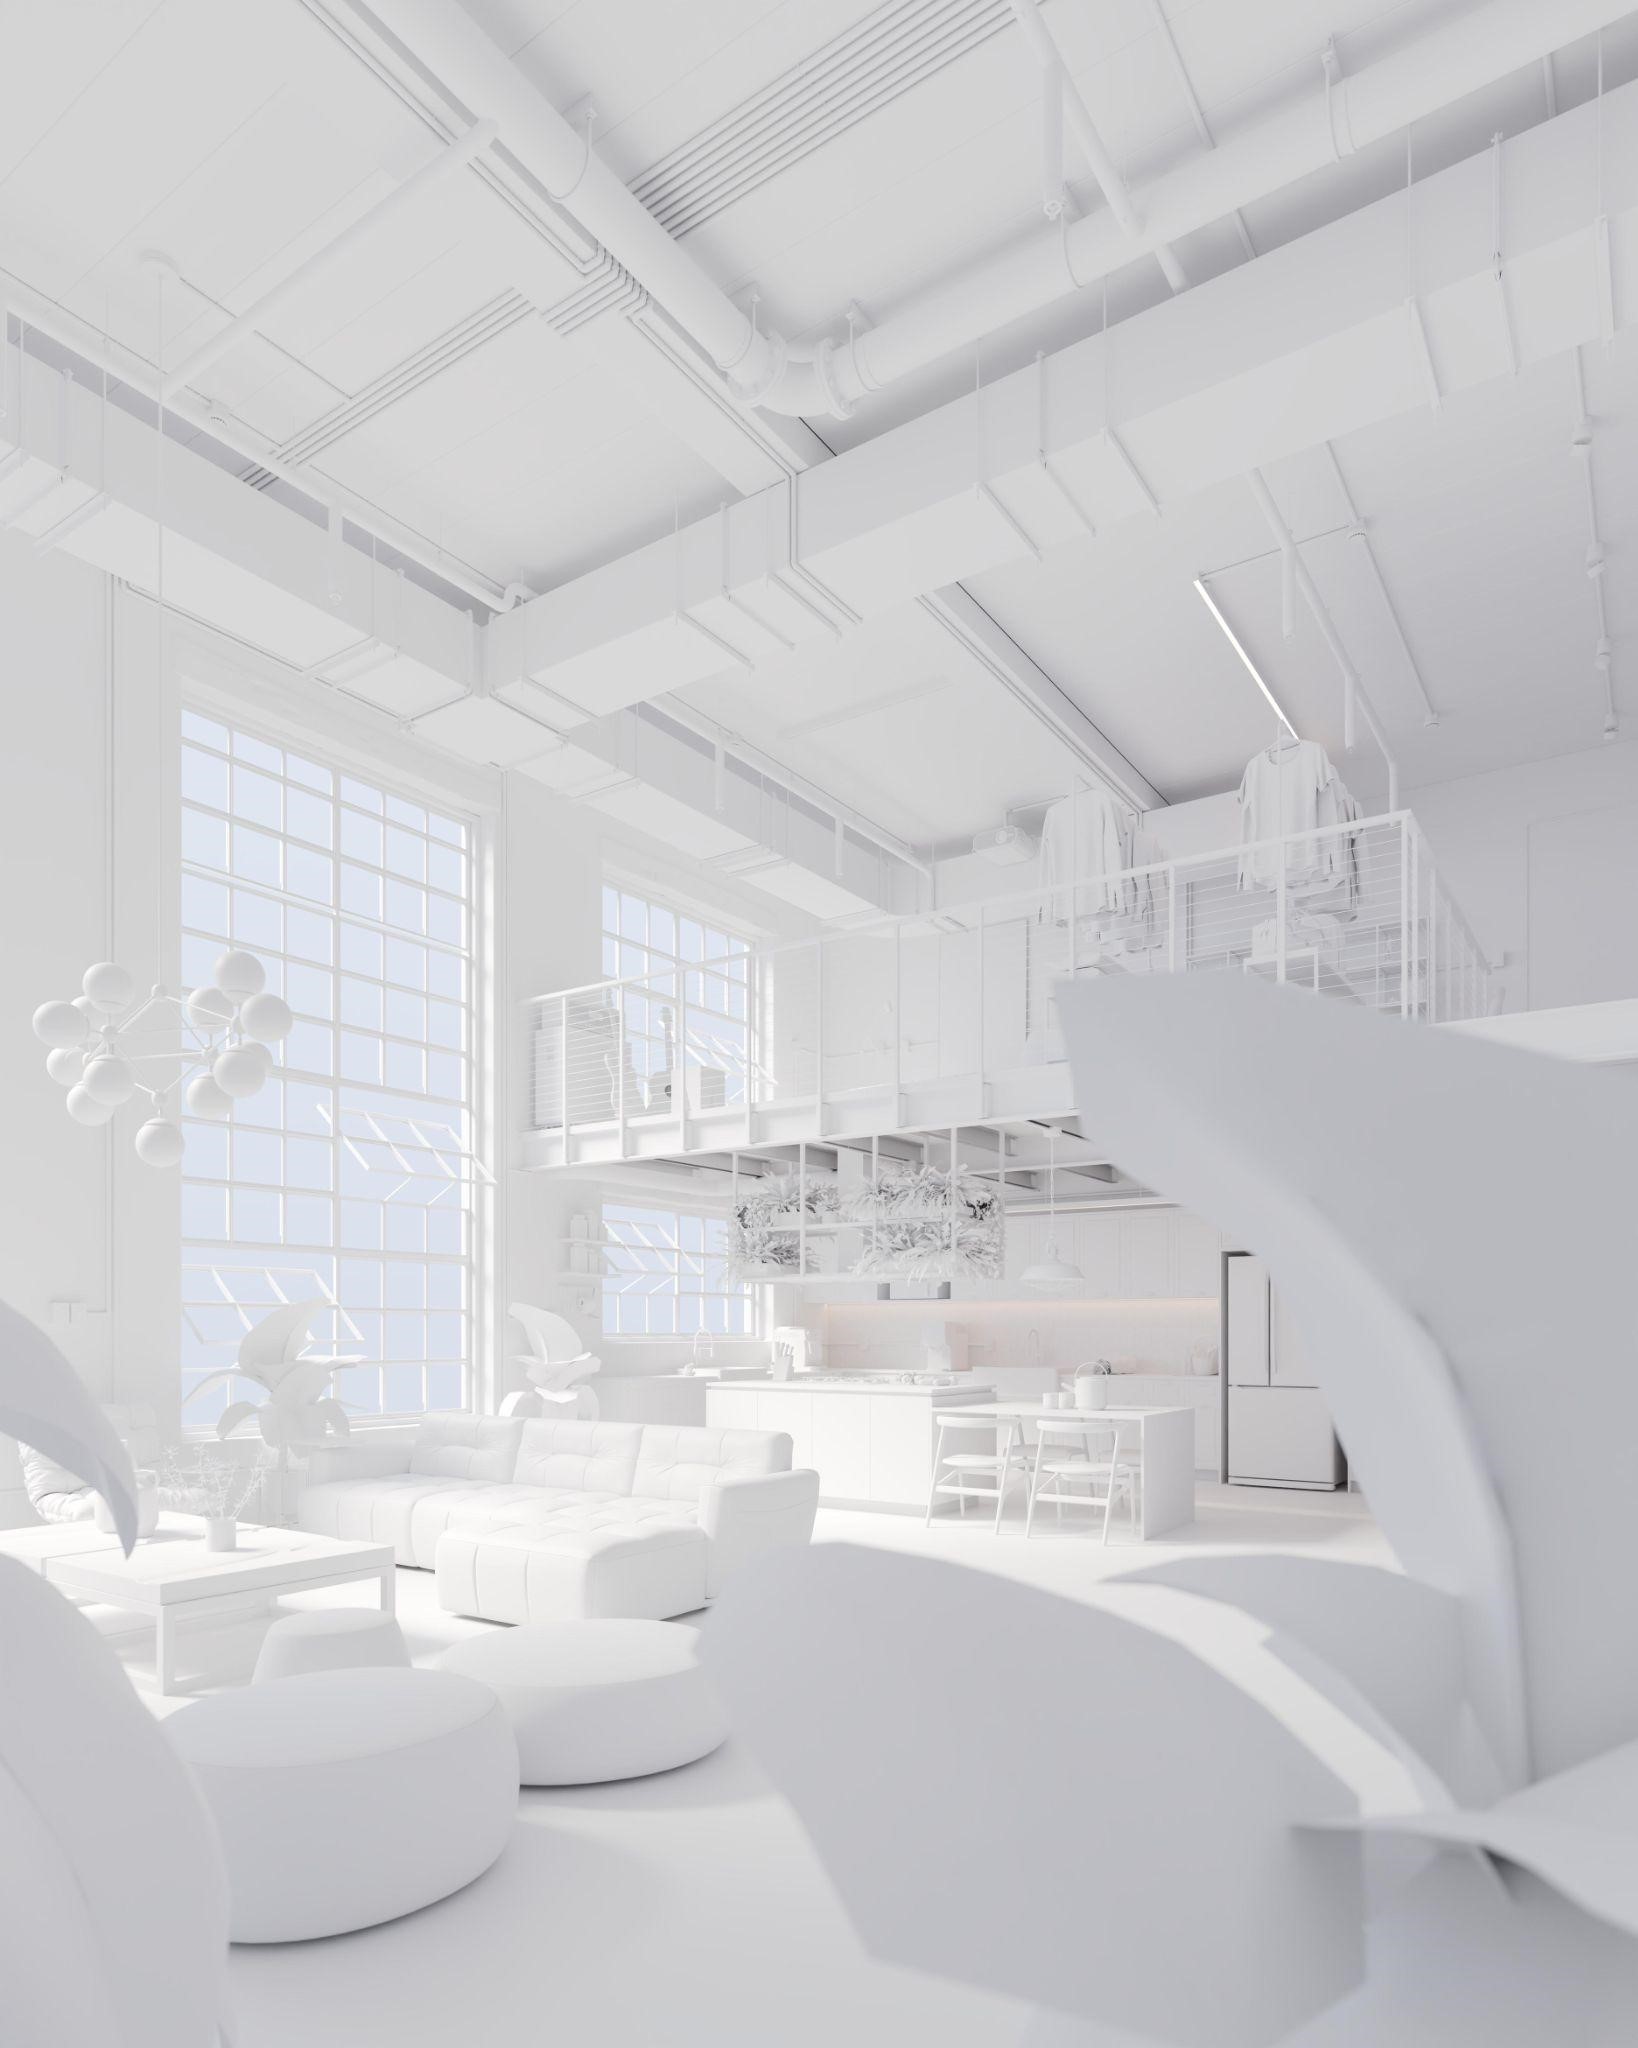
For lighting, I start with an initial idea and then optimize and refine it through several preliminary render tests. I create 99% of my interior lighting using the sky texture. The initial setup was already well advanced, with the sun’s rotation and elevation defined. From there, I began working on the softness of the light and the balance between direct and indirect light, which is crucial for achieving good quality.
At first, I didn’t like the hard light; the shadows were too sharp, and the contrast between light and shadow became exaggerated. This was largely due to the size of the loft, which is relatively large, and the materials, which aren’t very light. For this reason, I discarded the idea of hard light and opted for a softer light, which would be perfect for the size of the space and for controlling light and shadow.
However, even though I knew I wanted soft light, there was still a long way to go to achieve the best result. How soft should the light be to get the ideal outcome? What’s the best intensity for direct and indirect light to ensure image quality? Would I need to refine the sun’s angle? The elevation? Or even the atmospheric parameters? All these questions needed answers, as they were crucial for good lighting quality.
I answered them through testing, keeping what added value to my scene and discarding what didn’t, resulting in the most optimized lighting possible, in my opinion. If you want to work on the balance between direct and indirect light, adjust the sun’s values and also the strength value in the background node.
As a key detail, I added a volume to enhance the lighting design and introduce an effect that makes the lighting less generic, always ensuring that everything remains balanced without exaggeration or overly attention-grabbing elements.
Post-production
Post-production is a crucial stage in finalizing the image. During this phase, I work on the overall contrast of the scene, adjusting highlights, shadows, and even mid-tone contrasts, all with the goal of conveying the message with maximum clarity and efficiency. Colors are also extremely important, as they carry a large part of the emotions and sensations we want to evoke.
Lastly, I apply a few effects to the image, such as glare, vignette around the edges, sharpness, and a touch of noise or grain. All of these elements are used subtly, much like seasoning in a dish; if overdone, they pose a significant risk of ruining the final result.
RENDER


Thank you for reading!
About the Artist
Luan3dr is an artist and communicator within the 3D and Blender communities in Brazil, specializing in architectural rendering.